Back to TheWorxHub for Senior Living Main Menu
Adding and Managing Bulletins
Bulletins in TheWorxHub are a way of sending out interdepartmental or facility-wide messaging for a time sensitive topic. When you add a bulletin, it is pushed to TheWorxHub as well as MobileWorx, and will display with an indicator on the Dashboard to inform you of the new bulletin.
Adding a Bulletin
You can add a Bulletin in two ways:
- Click on the Add button in the top right corner of the screen and select Bulletin from the drop down. *Note: You can only add a bulletin from the global add menu if your role has the permission Bulletins: Can Add Bulletin from Add Menu.
If you are adding a bulletin that contains any Protected Health Information (PHI), be sure to follow your organization's Health Insurance Portability and Accountability Act (HIPAA) guidelines.
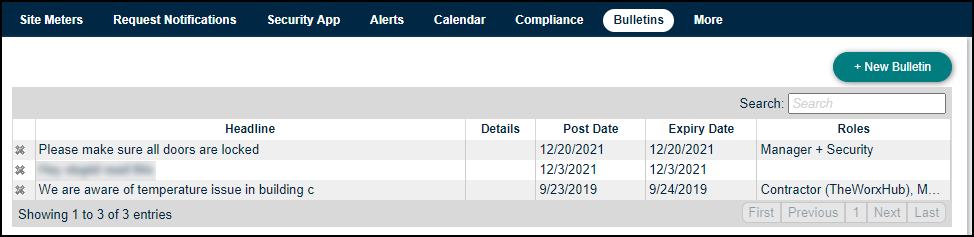
- Or click on the Settings tab.
- Click on the Misc tab and then select Bulletins to open your bulletin list.
- Click on the New Bulletin button.
- Enter your Headline. This serves as the title or subject for your headline and will display at the top of every bulletin.
- Enter your Details to add more relevant information for this bulletin.
- Enter a Post Date to determine when this bulletin will display.
- Enter an Expiry Date to determine when this bulletin will no longer display.
- Click into the Visible to Roles field to define what user roles will be able to view this bulletin. *Note: If you do not define any user roles in this field, all users will be able to view the bulletin.
- The Select All and Deselect All buttons will select or deselect all roles listed in the Visible to Roles field. These buttons reduce the time needed to select which user roles will be able to view bulletins.
- Click Save to finish adding the bulletin.

Managing Bulletins
To access the Bulletin list:
- Click on the Settings tab.
- Click on the Misc tab and then select Bulletins to open your bulletin list.
- Click X next to a bulletin you would like to delete. A confirmation window will pop up. Click Ok to save your changes.
- To make changes to an existing bulletin, click on the bulletin you wish to change to open the Edit Bulletin window.
- When you have finished making your changes, click Save.
- To search for a particular bulletin you would like to manage, start typing in the reactive search bar. As you type, the bulletin list will filter the results based on what you have typed. *Note: The search will check what you have typed against any of the available fields on the bulletin, including the Headline, Details, Post Date, Expiry Date, and Roles.